

Adding Photos to Your Profile
Please Add Photos!
You can add as many photos as you like to your own profile, and give each one a caption. Here is how, step-by-step.
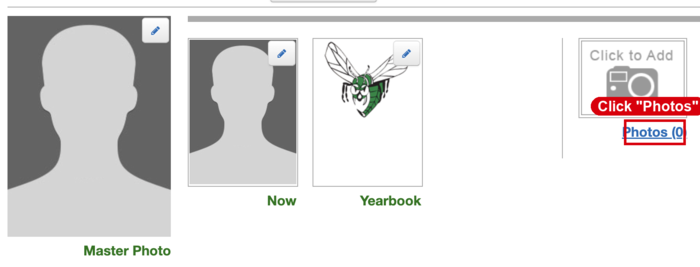 1. Go to Edit Profile and click "Photos."
Log in, open your profile, and select Edit Profile. At the top you will see your photo boxes — Master Photo, Now, Yearbook, and Photos. Click the Photos link.
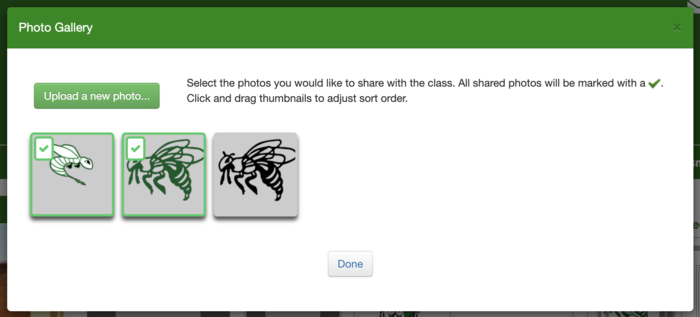
2. Click "Upload a new photo…"
The Photo Gallery window opens. Select the green Upload a new photo… button.
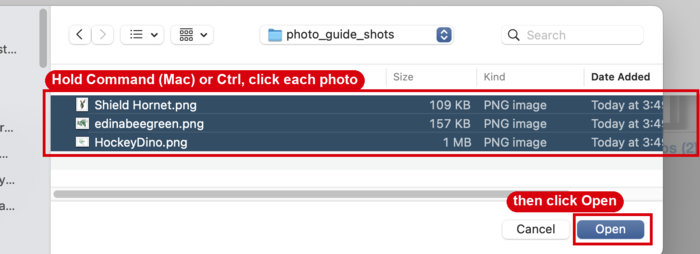
3. Pick one photo — or several at once.
Your computer's file window opens. To add several at once, hold Command (Mac) or Ctrl (Windows) and click each photo you want, then click Open.
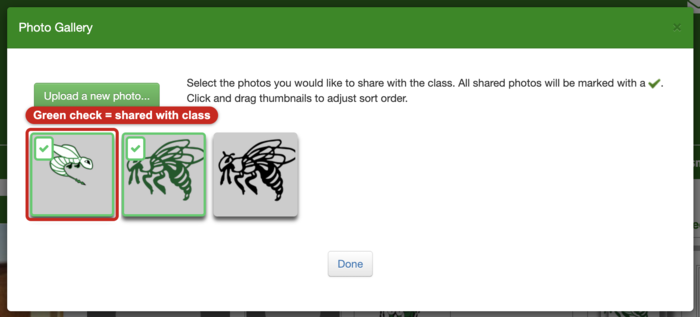
4. Choose which photos to share.
Each photo you upload is marked with a green check mark. Click a photo to turn sharing on or off, and drag the thumbnails to set their order.
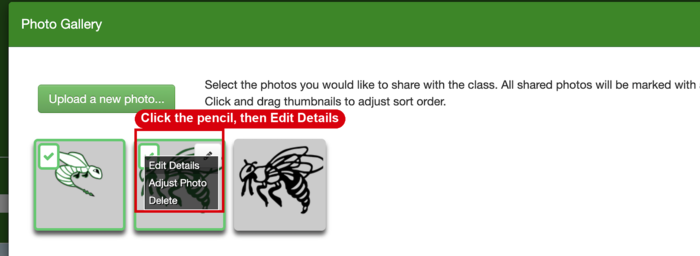
5. Open a photo to add a caption.
Hover over a photo and click the pencil that appears in its corner, then choose Edit Details.
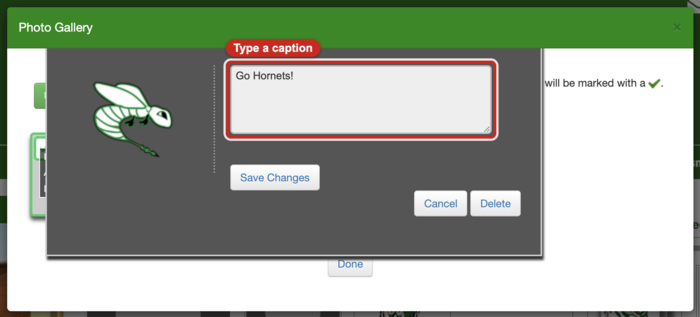
6. Type your caption, then save.
Type your caption in the Photo Caption box, then click Save Changes. Captions are optional — leave it blank if you prefer.
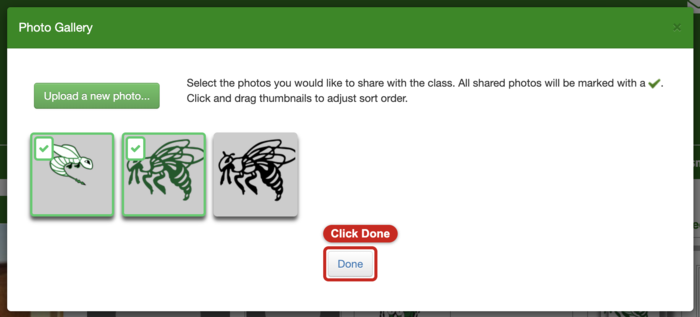
7. Click "Done" when finished.
Your photos and captions are now visible on your profile.
Prefer a printable version? Download the PDF guide here.